WE ARE SPECIALIST FLOORING CONTRACTORS
- CALL US ON: 01925 737 369
- EMAIL ON: SALES@QUESTLTD.CO.UK

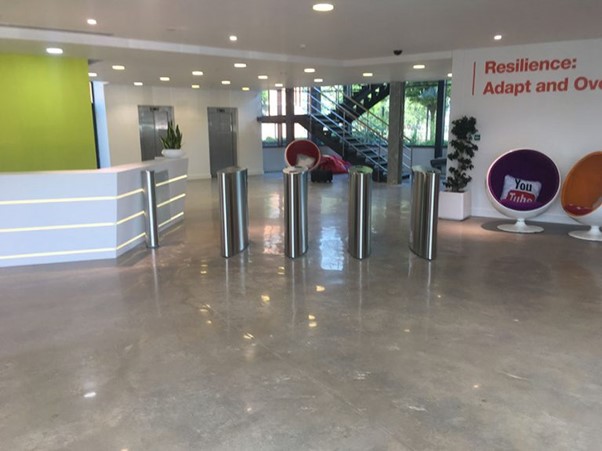
When you’re overseeing a facility, the last thing you need is a floor system that fails or causes delays. Correctly installed resin flooring can provide years of reliable performance – but only if each stage of the installation process is handled properly by competent resin flooring contractors.
In this post, we walk you through the resin flooring installation process and flag what you should expect from a trusted installer like Quest Ltd.
While every site or location will have its own needs or quirks that need to be planned for, most resin flooring installations will follow a similar timeline – as explored below.
This early stage sets the tone for everything that follows, so it should not be rushed.
If a prospective resin flooring installer skips site visits and offers a price sight-unseen or misses steps without an explanation, treat it as a red flag.
Arguably, the most critical stage – most floor failures trace back to improper surface prep. Methods of surface preparation can include:
The first resin layer, often called a primer or seal coat, is not optional and should, therefore, never be skipped.
Priming or sealing brings many benefits, as it:
Skipping, under-applying, or not leaving the primer to properly dry before applying another coat are common weak links in failed installations.
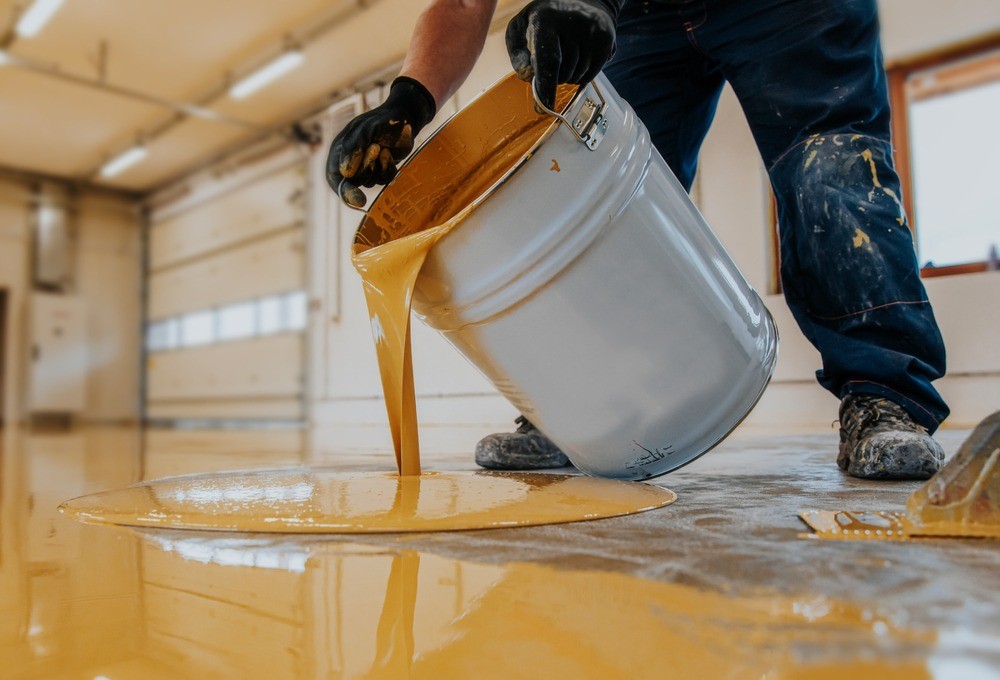
At this stage, the structural body of the resin system is applied. To ensure durability, attention to detail should be exercised by your chosen installer while mixing and applying:
Mixing – Each resin component must be handled with the correct ratio, temperature, and mixing speed.
Applying – Most projects include the use of a notched squeegee or trowel, then back-roll to level and remove surface irregularities.
To increase thickness, performance, or slip resistance, industrial resin flooring contractors can add aggregates. Doing so in the wrong order can negate the benefits and even lead to resin failure.
Generally, quartz, grit, or aggregates are added to the still-wet resin. Then, once cured, excess aggregate is removed before subsequent layers are added.
This step is common in high-wear zones, heavy machinery areas, or chemical environments, but it isn’t necessary for all projects.
Depending on the system design, one or more additional resin coats are applied. These extra layers fill and encapsulate any broadcasted particles, level out the surface, and contribute to the total thickness.
The same application method is used under controlled temperatures and humidity, before being properly cured.
The final coat is your protective layer – it locks in everything beneath and gives the floor its final finish, be that matte or glossy.
Selected for abrasion, UV, chemical, and slip-resistance, they’re applied with care to avoid roller marks or bubbles.
This coat is critical to long-term performance and is often where specification is most visible.
Once the application ends, the floor must be allowed to cure under strictly controlled conditions. This includes keeping the room at a set temperature, humidity percentage, and ventilation amount.
Likewise, as premature traffic or loading can ruin the system, the floor will need to be left completely alone and unfurnished.
Finally, your chosen commercial flooring installer should conduct final inspections, including adhesion, gloss, and appearance checks, and walk-throughs with you before they can formally sign it off and give you a full handover.
At completion, your contractor should hand over:
This will help ensure your commercial resin flooring lasts for as long as possible, extending the lifetime of your project.
When you choose an industrial flooring contractor, you put a lot of faith in them to deliver the outcome you’ve requested.
For this reason, if the flooring does fail because of poor project management or technique, it’s most likely to be caused by one of the following reasons:
A trustworthy resin flooring contractor will explain how they control these risks and will be happy to talk you through quality checks and corrective measures, if they are needed.
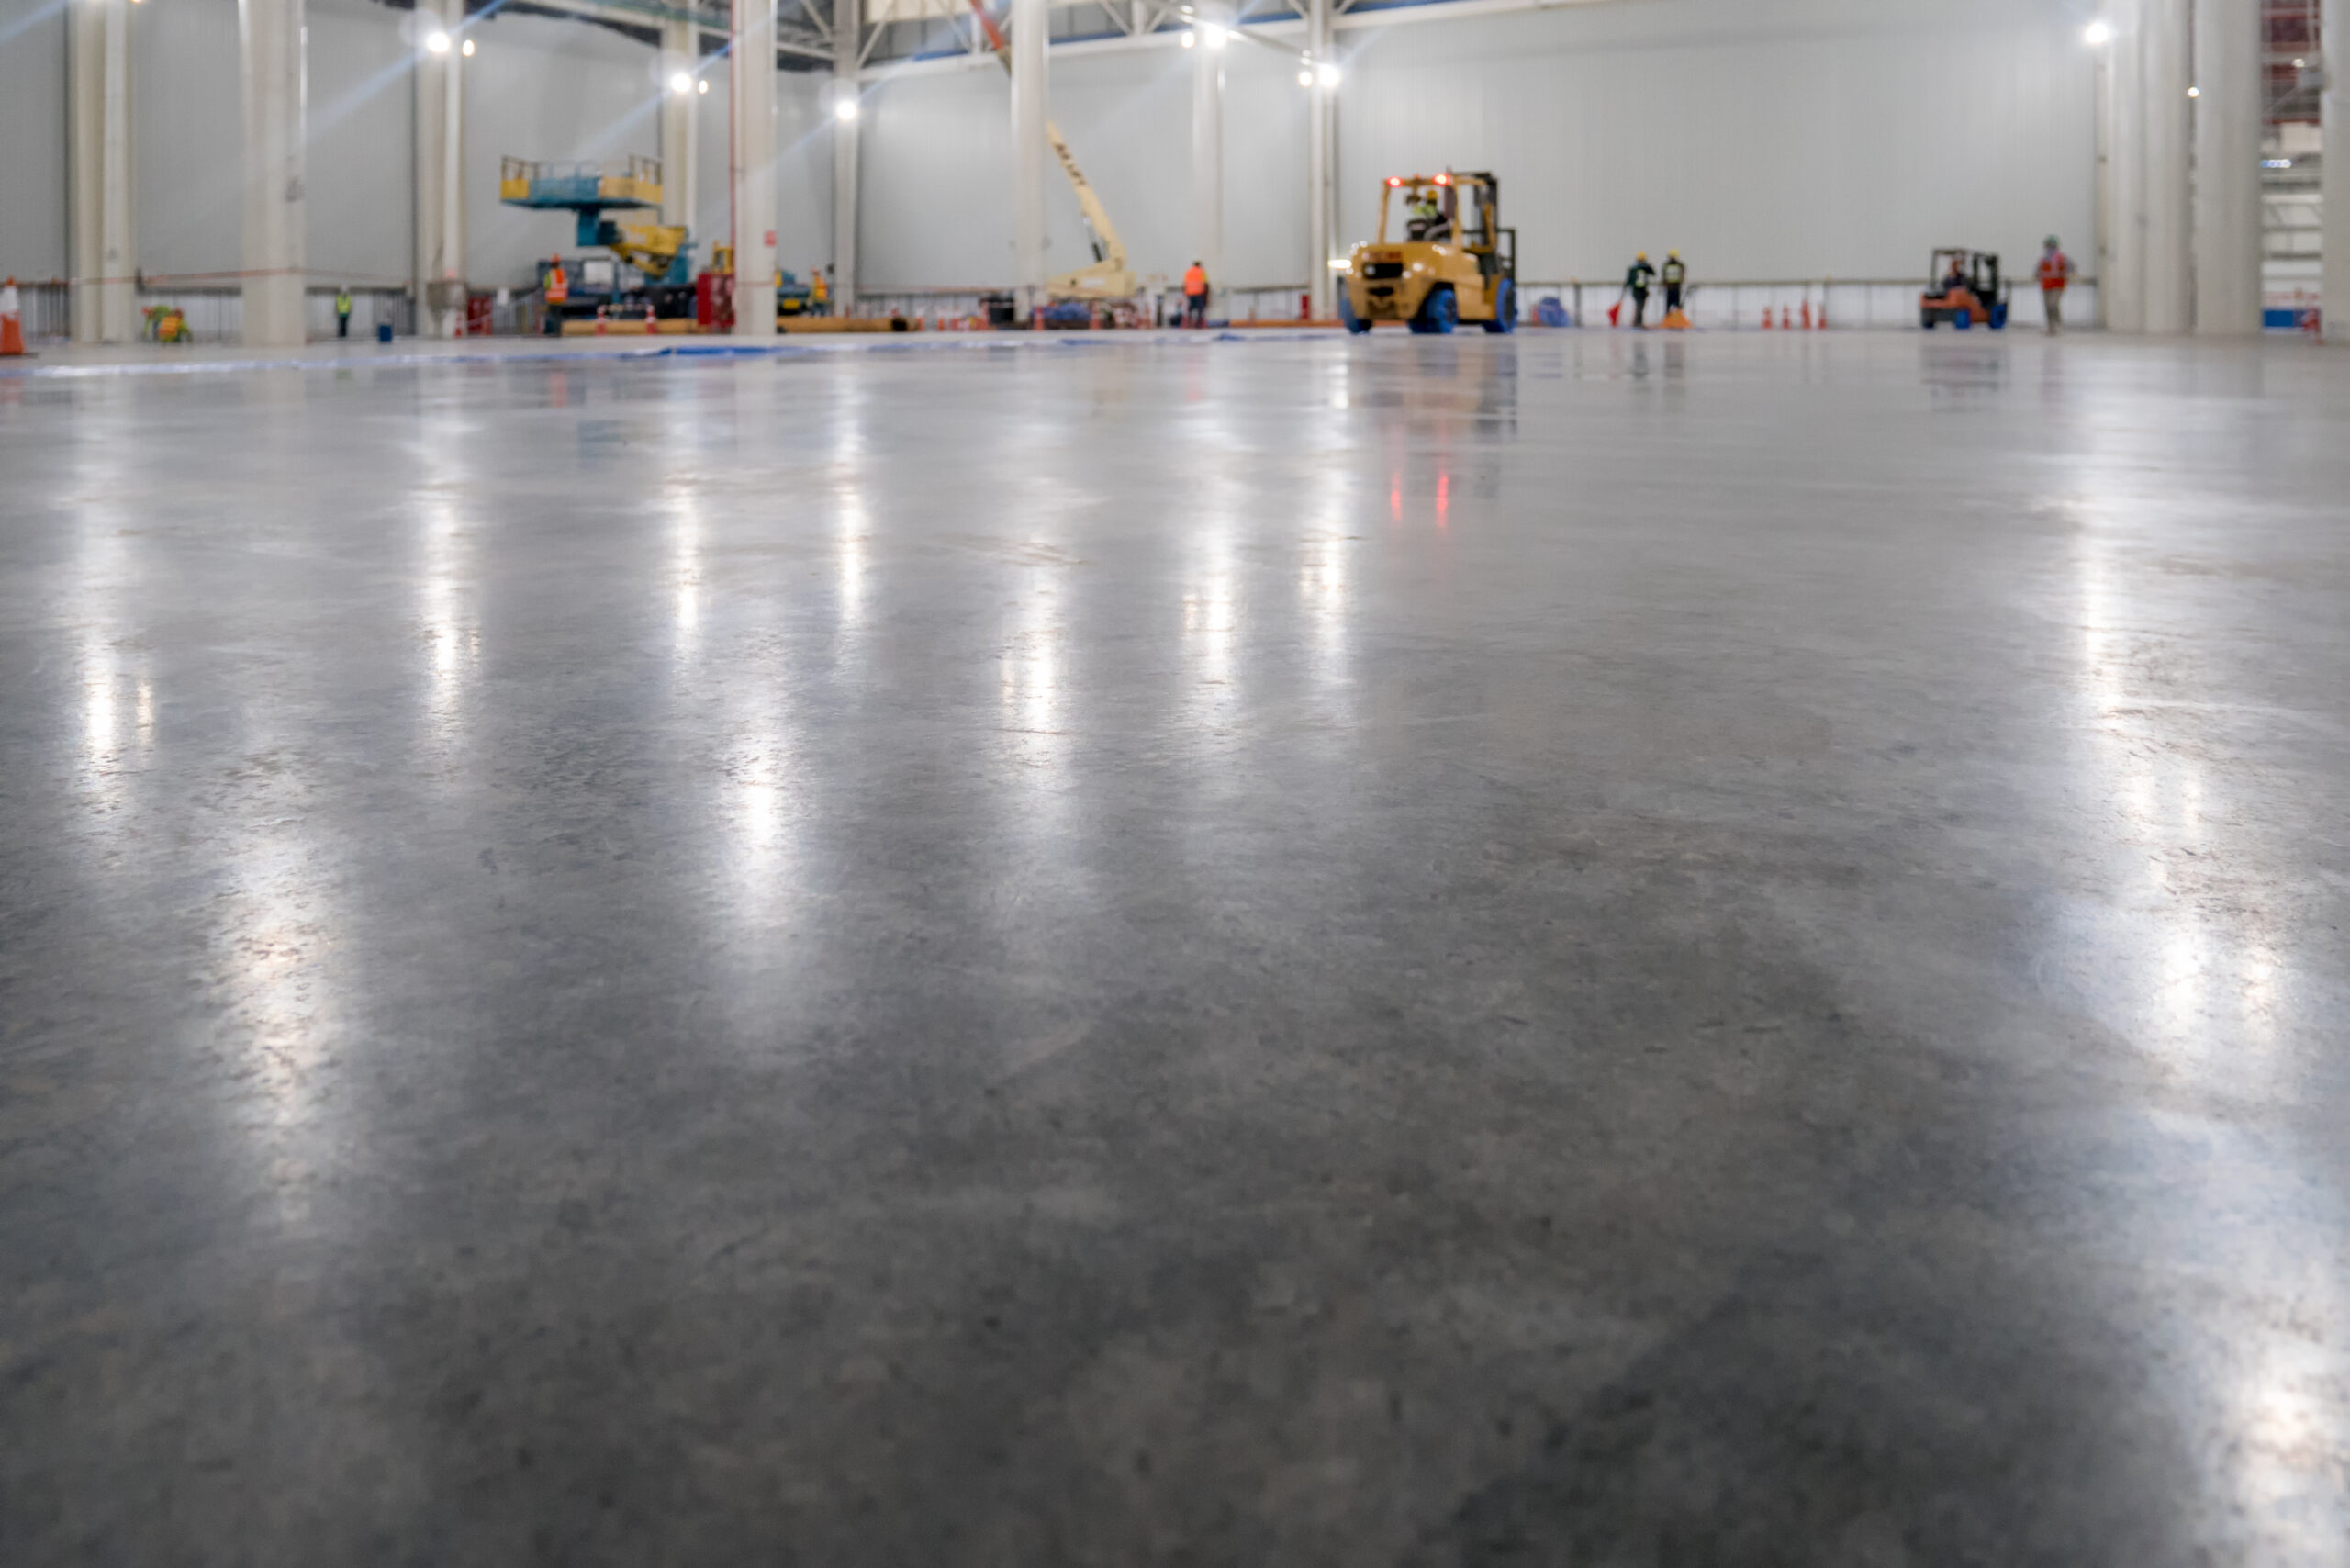
Resin flooring installation is a multi-stage process that demands discipline, planning, and craftsmanship, and there’s no room for shortcuts.
But when executed by skilled resin flooring contractors, the payoff is a long-lasting, seamless, high-performance surface you don’t have to worry about – especially if you are willing to follow the maintenance advice.
For a floor done right the first time, contact the experts at Quest Industrial Flooring Ltd. We are based in Cheshire but provide industrial flooring to sites across the UK – so why not email sales@questltd.co.uk for a bespoke quote today?
We’re always on hand and happy to help. Simply tell us your requirements and we will offer expert advice on the best resin flooring options for you.